

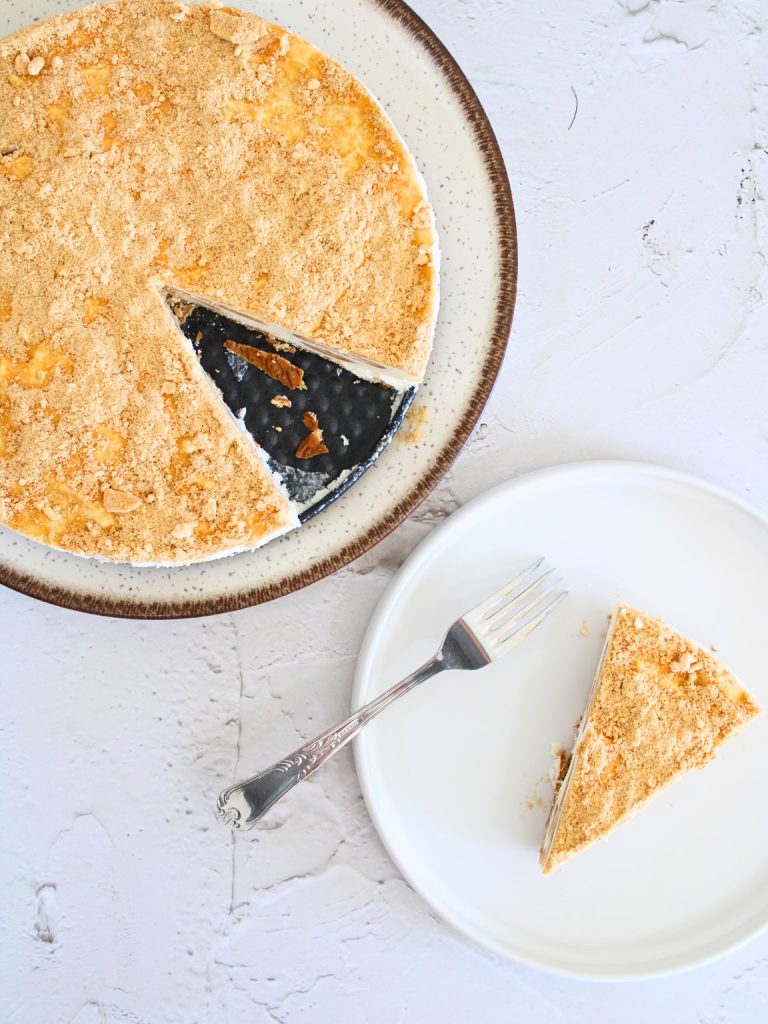
This no bake coffee cookie icebox cake is creamy, simple, and perfect for days when you want dessert without turning on the oven. It’s made with layers of crisp tea biscuits dipped in strong coffee and a light, sweet whipped cream that sets in the fridge.
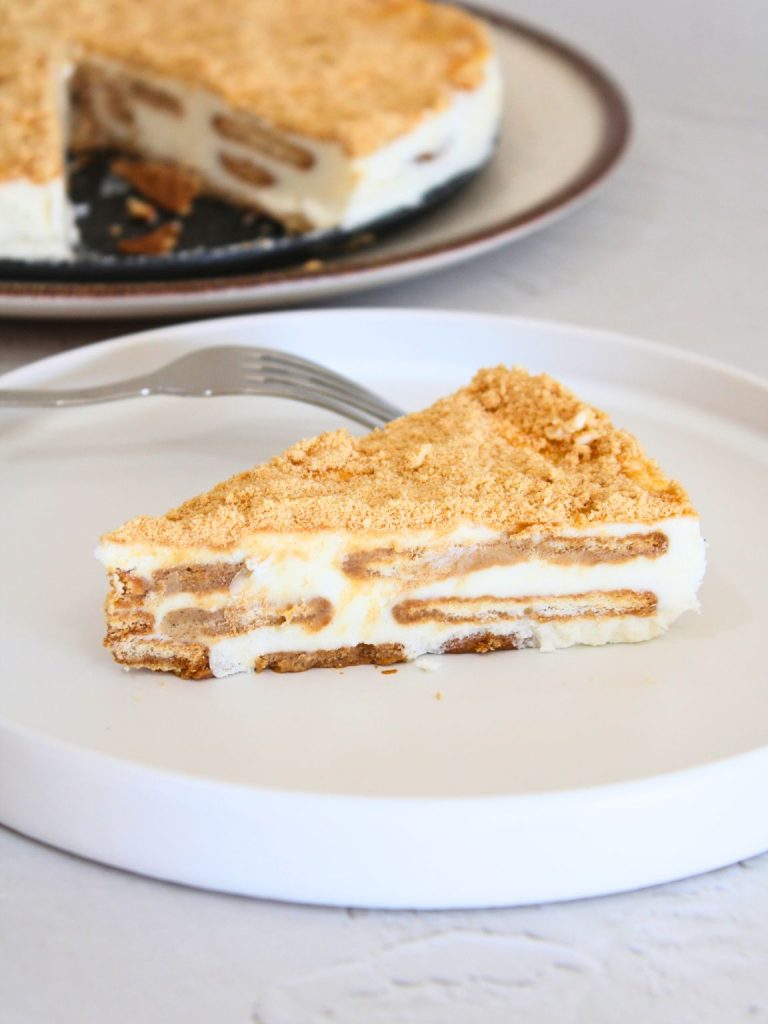
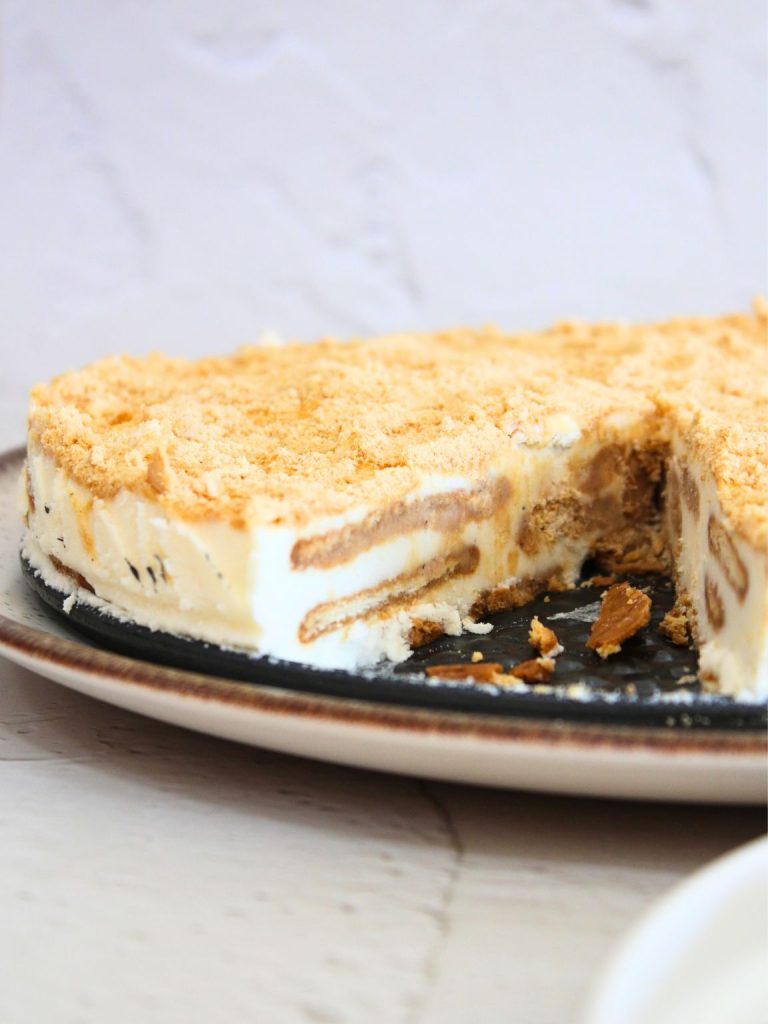
The result is a soft, sliceable cake with beautiful layers, a gentle coffee flavor, and just enough sweetness to feel special. You only need about 5 main ingredients, a mixing bowl, and a little chill time.
It is the kind of dessert you can make ahead for guests, bring to a family gathering, or keep in the fridge for a few days and enjoy a slice after dinner!
Why you’ll love this coffee cookie icebox cake
- No bake recipe, so the oven gets a break.
- Short ingredient list, using simple pantry staples.
- Make ahead friendly, since it needs time to chill and set.
- Perfect for coffee lovers, with a mellow, cozy flavor.
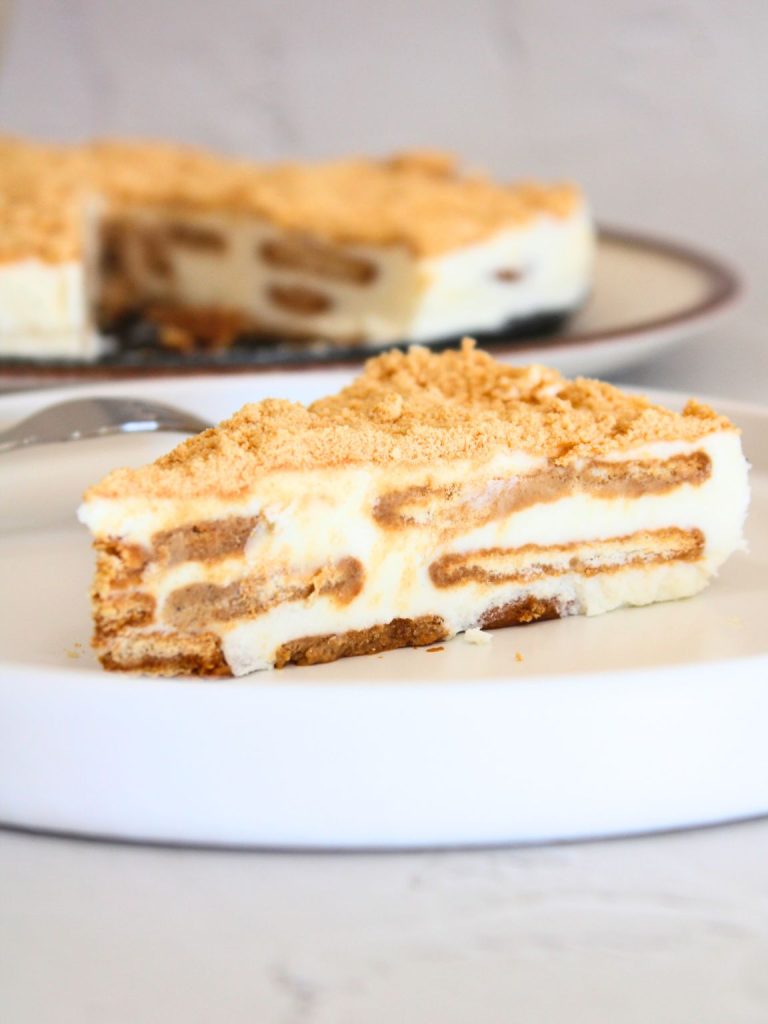
- Pretty, layered slices that look impressive on the table.
Ingredients:
Makes about 8 servings.
For the cream layer:
- 2 cups cold heavy whipping cream
Creates a rich, fluffy whipped cream that holds the cake together. - 1/2 cup granulated sugar
Sweetens the cream without making it too heavy. - 2 sheets unflavored gelatin, softened and melted
Helps the cream set so the cake slices cleanly.- Or use 1 1/2 teaspoons unflavored powdered gelatin, bloomed in 1 tablespoon cold water.
For the cookie layers:
- About 7 ounces (200 g) plain tea biscuits
Any simple, crisp, lightly sweet biscuit or cookie works well. - 1 to 1 1/2 cups strong brewed coffee, cooled to room temperature
Gives the biscuits flavor and turns them soft and cake-like as the dessert chills.
For topping:
- Extra tea biscuits, crushed, for sprinkling on top (optional)
How to make coffee cookie icebox cake
If you can use a mixer and dip cookies in coffee, you’re good. Nothing fancy here, just a few simple steps that come together into something that looks VERY impressive on the table!
For the best results, try to make this at least 4 hours before you want to serve it, so the fridge has time to work its magic.
Prepare the gelatin
Start by softening the gelatin. Place the gelatin sheets in a bowl of cold water and let them sit until they are completely soft. Gently squeeze out the excess water, then transfer the softened sheets to a small microwave-safe bowl. Warm them just until the gelatin is fully melted and smooth, then set aside to cool slightly so it is warm, not hot.
If using powdered gelatin instead, stir it into a small amount of cold water and let it stand until thick and spongy. Warm briefly in the microwave until melted and smooth, then allow it to cool slightly before adding it to the cream.
Whip the cream
Add the cold heavy cream to a large mixing bowl. Using a hand mixer or stand mixer, beat the cream on medium high speed until it begins to thicken and soft peaks start to form. Sprinkle in the sugar and mix again until combined. With the mixer on low speed, slowly pour in the melted gelatin, then increase the speed and continue beating until the cream is thick, smooth, and holds medium firm peaks. The consistency should be fluffy and spreadable.
Dip the biscuits
Pour the cooled brewed coffee into a shallow dish. Working with a few tea biscuits at a time, quickly dip each one into the coffee, turning it so both sides are lightly coated. The biscuits should absorb some liquid but still hold their shape. If they stay in the coffee too long, they can become overly soft and break apart, so a quick dip is enough.
Assemble the layers
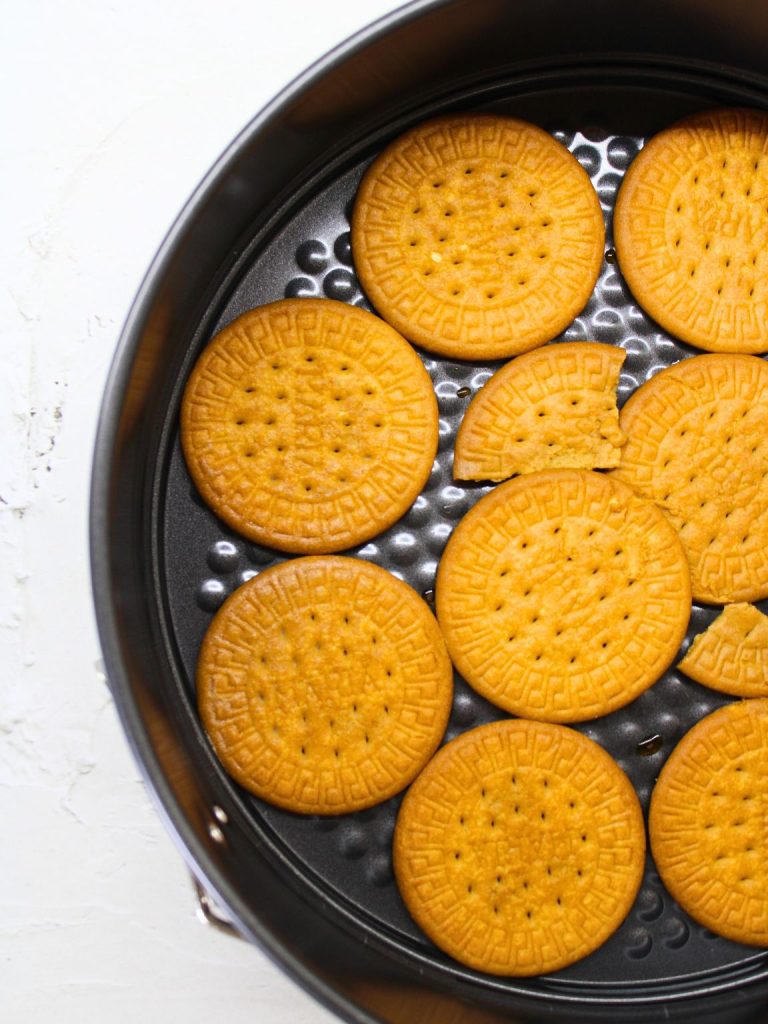
Arrange a single layer of coffee dipped biscuits over the bottom of an 8 or 9 inch springform pan, breaking a few pieces as needed to cover the surface.
Spread a layer of whipped cream over the biscuits, smoothing it out with a spatula. Repeat with another layer of dipped biscuits and another layer of cream.
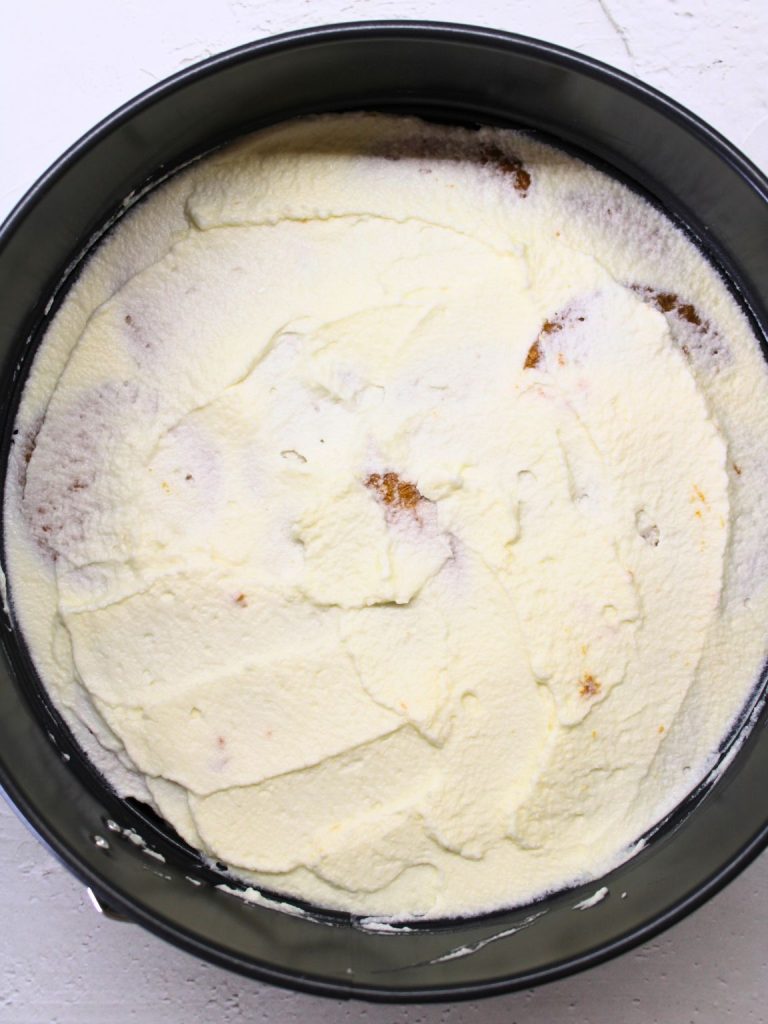
Continue alternating biscuits and cream until all of the biscuits are used, finishing with a layer of cream on top.
If there is extra cream, it can be spread around the sides of the cake for a smooth, finished look.
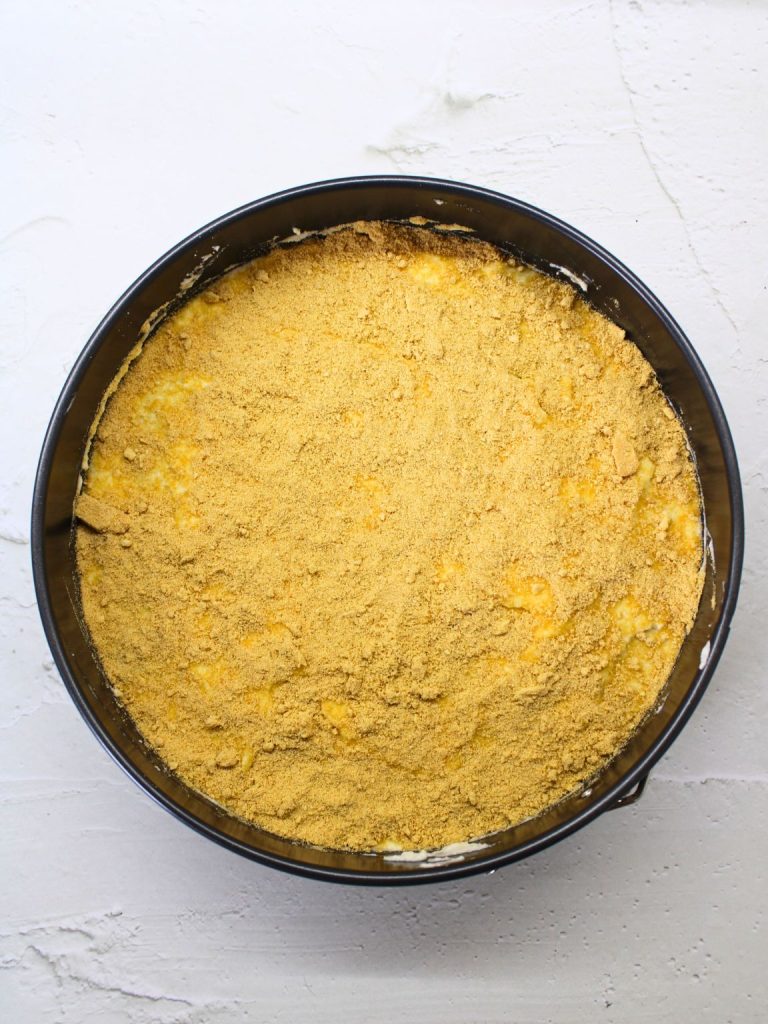
Chill and serve
Cover the pan with plastic wrap and place it in the refrigerator for at least 4 hours, or until the cake is fully set and the biscuits are soft all the way through. Chilling overnight gives very clean, defined layers.
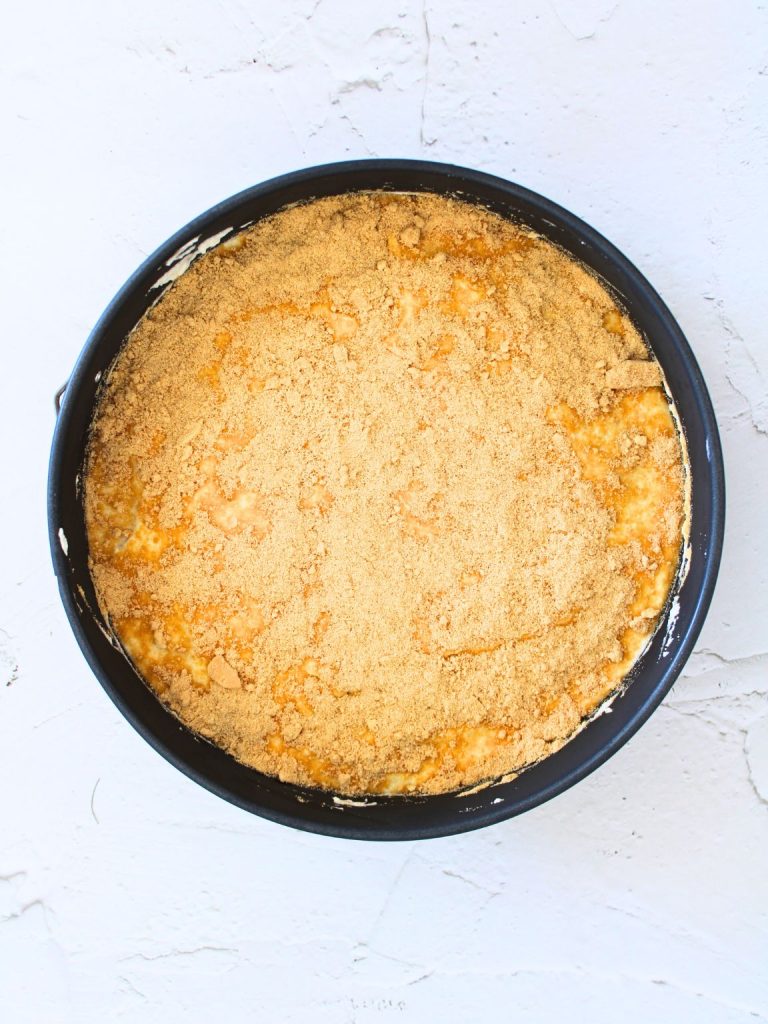
Just before serving, crush a few extra tea biscuits and sprinkle the crumbs over the top of the cake. Run a thin knife around the inside edge of the springform pan, release the sides, and slice the cake. Serve cold.
Recipe variations for coffee cookie icebox cake
Want to switch it up a little? Here are some simple ideas.
Change the cookies
Use any plain, crisp cookie, like tea biscuits or butter cookies. Just avoid anything too thick or filled, so the coffee and cream stay the main flavors.
Play with the coffee flavor
Use strong brewed coffee or espresso for a bolder taste. For something lighter, mix the coffee with a little milk. You can also add a splash of vanilla to the cream for a sweeter aroma.
Add chocolate
Dust the top with cocoa powder, sprinkle mini chocolate chips between the layers, or shave a little chocolate over the finished cake. A light drizzle of chocolate sauce on top is an easy upgrade.
Adjust the texture
Dip the cookies quickly for a bit of bite, or let them soak a little longer for a softer, pudding like dessert.
Skip the gelatin
You can leave out the gelatin and simply whip the cream with sugar. The cake will be softer and the slices less firm, but it still tastes creamy and delicious if you serve it cold.
If you make this coffee cookie icebox cake, I’d LOVE to hear how it turned out! Leave a comment, save it to Pinterest so you can find it later, and share it with someone who needs an easy make-ahead dessert on their list too!